Table of Contents
- 1. Understanding Golden Hour Timing: When and Where to Shoot
- 2. Selecting the Best Locations for Golden Hour Photography
- 3. Camera Settings for Golden Hour: Aperture, Shutter Speed, and ISO
- 4. Composition Techniques to Maximize Golden Hour Impact
- 5. Post-Processing Tips to Enhance Golden Hour Photos
1. Understanding Golden Hour Timing: When and Where to Shoot
Golden hour--the period shortly after sunrise and before sunset--transforms ordinary scenes into extraordinary photographs. The sun sits low on the horizon, casting a warm, diffused light that flatters subjects and adds depth to landscapes. But timing is everything. The exact duration varies by latitude, season, and weather. At the equator, golden hour lasts roughly 60 minutes. In higher latitudes, it can stretch to 90 minutes or more. Use apps like PhotoPills or The Photographer's Ephemeris to calculate precise golden hour windows for your location. These tools account for your GPS coordinates and date, giving you a countdown to the best light.
Weather plays a critical role. Clear skies produce predictable golden light, but partly cloudy conditions can create dramatic, colorful sunsets. Aim to arrive at your location 30 minutes before the official golden hour begins. This buffer lets you set up, compose, and adjust settings while the light evolves. For sunrise shoots, check the time and set an alarm--you'll want to be in position 20 minutes before the sun crests the horizon. The first 10 minutes after sunrise often yield the softest, most ethereal light.
Pro Tip: The best golden hour light occurs when the sun is between 0° and 6° above the horizon. Use a sun tracking app to monitor this angle in real time.
Seasonal shifts matter. In summer, golden hour occurs earlier in the morning and later in the evening, often coinciding with extreme temperatures. Winter offers shorter golden hours but more manageable shooting conditions. Spring and fall provide the most consistent, moderate light. Always check the weather forecast--high humidity or haze can soften the light further, which may be desirable for portraits but less so for sharp landscapes.
2. Selecting the Best Locations for Golden Hour Photography
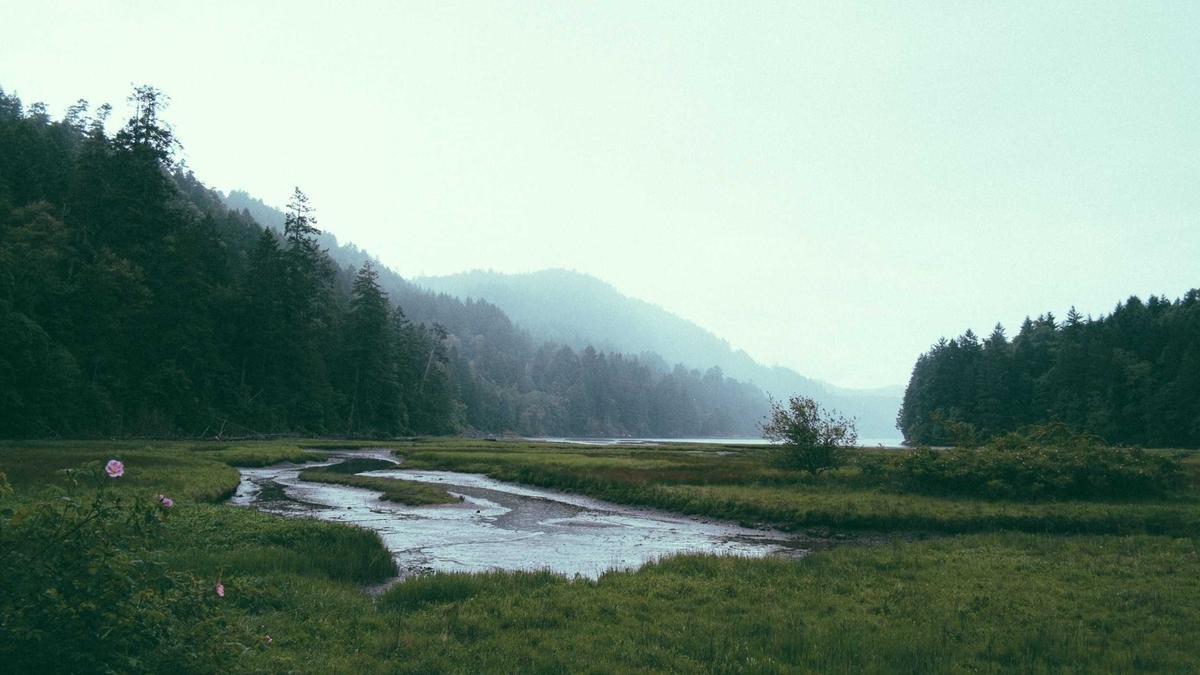
Location choice can make or break your golden hour images. Open spaces with unobstructed horizons--beaches, fields, hilltops--allow the sun to paint the sky without interference. Coastal scenes benefit from reflections on water, amplifying the warm tones. Urban environments offer unique opportunities: skyscrapers catch the golden light, creating dramatic silhouettes and long shadows. Parks and gardens with trees provide natural frames and dappled light effects.
For portraits, choose locations where the sun is behind or to the side of your subject. Backlighting creates a glowing halo effect around hair and shoulders, while side lighting emphasizes texture and depth. Avoid placing the sun directly behind your subject unless you're intentionally creating a silhouette. Use a reflector or fill flash to balance exposure. Natural reflectors like light-colored walls, sand, or water can also bounce warm light onto your subject's face.
Landscape photographers should scout locations with leading lines--roads, rivers, fences--that draw the eye toward the sun. Foreground elements like rocks, flowers, or grass add depth and scale. Use a wide-angle lens to capture the expansive sky and incorporate the golden light across the entire frame. For cityscapes, find elevated viewpoints like rooftops or bridges that offer a clear sightline to the horizon. The golden hour light will illuminate building facades, creating a warm, inviting urban glow.
3. Camera Settings for Golden Hour: Aperture, Shutter Speed, and ISO
Golden hour light is forgiving, but optimal camera settings ensure you capture its full beauty. Start with aperture priority mode (A or Av) to control depth of field. For landscapes, use f/8 to f/11 for sharpness from foreground to infinity. For portraits, open up to f/1.8 to f/2.8 to blur the background and isolate your subject. The warm light will naturally soften the background, so a wide aperture enhances the dreamy effect.
Shutter speed depends on your subject and lighting conditions. In the early golden hour, light levels are moderate--expect shutter speeds between 1/60s and 1/250s at base ISO. Use a tripod for slower speeds below 1/60s to avoid camera shake. For moving subjects like birds or waves, increase shutter speed to 1/500s or faster. If you're shooting handheld, enable image stabilization and brace yourself against a solid surface.
ISO should remain as low as possible--typically 100 or 200--to minimize noise and maximize dynamic range. Golden hour light is warm but not extremely bright, so you may need to raise ISO to 400 or 800 in deeper shadow areas. Modern cameras handle ISO 800 well, but test your camera's noise performance beforehand. Use exposure compensation to fine-tune brightness: +0.3 to +0.7 EV often preserves the warm tones without blowing out highlights.
White balance is crucial. Set it to 'Daylight' or 'Cloudy' (around 5500K to 6500K) to enhance the golden hues. Avoid Auto White Balance, which may neutralize the warmth. If shooting in RAW, you can adjust white balance in post-processing without quality loss. For JPEG shooters, dial in a custom white balance using a gray card or set it manually to 6000K for consistent results.
4. Composition Techniques to Maximize Golden Hour Impact
Golden hour light is a powerful compositional tool. Use it to create contrast, depth, and mood. Backlighting transforms ordinary subjects into luminous forms. Position your subject between you and the sun, then expose for the highlights. The result is a silhouette with a warm, glowing rim. For portraits, use a reflector to bounce light back onto the face, maintaining detail while preserving the backlit effect.
Incorporate the sun itself as a focal point. Place it off-center using the rule of thirds, or center it for a symmetrical composition. Use a small aperture (f/16 or f/22) to create a starburst effect--the sun's rays appear as sharp points radiating outward. This works best when the sun is partially obscured by a tree, building, or cloud. Experiment with different angles: shoot low to the ground to emphasize foreground elements, or climb to a higher vantage point for a sweeping vista.
Leading lines become more pronounced during golden hour. Roads, rivers, and fences catch the warm light, creating strong directional cues. Use them to guide the viewer's eye toward the horizon or a key subject. Foreground interest--a rock, a flower, a person--adds depth and scale. Combine these elements with the golden light to create images that feel immersive and three-dimensional.
Negative space works beautifully in golden hour photography. The warm sky provides a simple, colorful backdrop that emphasizes your subject. Leave ample empty space around your main element--a lone tree, a bird in flight, a person walking--to create a minimalist, powerful composition. The contrast between the bright sky and darker foreground adds drama without clutter.
5. Post-Processing Tips to Enhance Golden Hour Photos
Even perfectly exposed golden hour images benefit from subtle post-processing. Start by adjusting white balance to reinforce the warm tones. In Lightroom or Capture One, move the temperature slider toward yellow/orange (around 5500K to 6500K). Increase the tint slightly toward magenta to balance greenish shadows. Use the HSL panel to boost orange and yellow saturation and luminance--this makes the golden light pop without affecting skin tones.
Recover highlight detail if the sun or sky is blown out. Use the highlight slider to bring back texture in clouds and the sun's edges. Lift shadows to reveal detail in darker areas like tree trunks or subjects' faces. Apply a graduated filter to darken the sky if it's too bright, or use a radial filter to brighten your subject. Add a subtle vignette to draw attention to the center of the frame.
Sharpening should be conservative. Golden hour images often have a soft, dreamy quality--over-sharpening can ruin that mood. Apply moderate sharpening to edges only, using a mask to protect smooth areas like skin or sky. Noise reduction is rarely needed at low ISO, but if you shot at higher ISO, apply luminance noise reduction sparingly. Finally, export in sRGB color space for web display, ensuring the warm tones appear consistent across devices.